


Step-By-Step Process to Replace a Bathroom Vanity
A bathroom vanity is an essential component of a modern-day bathroom serving many purposes. It is very hard to think about a day without it, especially in the morning when you are getting ready for the office. They provide a private and comfortable grooming space right within your bathroom with all the storage space you need to keep your daily grooming essentials and medicines. But, there is always a reason to replace your old vanity with a new one as it is an easy makeover of your bathroom.
So, when you are planning to replace an old or broken vanity in your bathroom, it is very important to research how to replace a bathroom vanity before picking up a pipe wrench. Replacing a bathroom vanity requires some skills to use basic tools and equipment for the proper replacement and installation. It is always recommended to hire professionals for the job but if you have knowledge and skills of handyman services, you can do it on your own by following a tailored process. Here’re is a quick guide on how to replace a bathroom vanity to help you in the hour of need.
Tools you will need during bathroom vanity replacement
- Pencil
- Carpenter's level
- Pipe wrench
- Screwdriver
- Stud finder
- Utility knife
- Bucket
- Tape measure
- Paper towels
You may need the following components along with a new vanity
- Shims
- Faucet
- Tub caulk
- Painter's tape
- Tile caulk
- P-trap
So, when you are ready with all the essential tools and equipment, it’s time to start the process of new vanity installation in your bathroom by following these steps.
Step 1- Turn off the water supply to the vanity
Disconnect the water supply line and turn off the water. Use a bucket to empty the pipeline and the p-trap by catching up on any water that drips.
Step 2- Remove the countertop
Use a utility knife to remove all the caulks between the wall and the vanity. Remove the countertop carefully without causing any damage.
Step 3 – Remove the old vanity
Use a screwdriver to remove all the screws to detach the vanity from the wall. You can prefer a cordless screwdriver to make the process easier.
Step 4 – Position the new vanity
Mark the positions of screw holes for the new vanity by locating the wall studs of your old vanity. You can use shims and a carpenter's level for the positioning of screw holes. Now set the new bathroom vanity in place and make sure that its flush is properly against the wall.
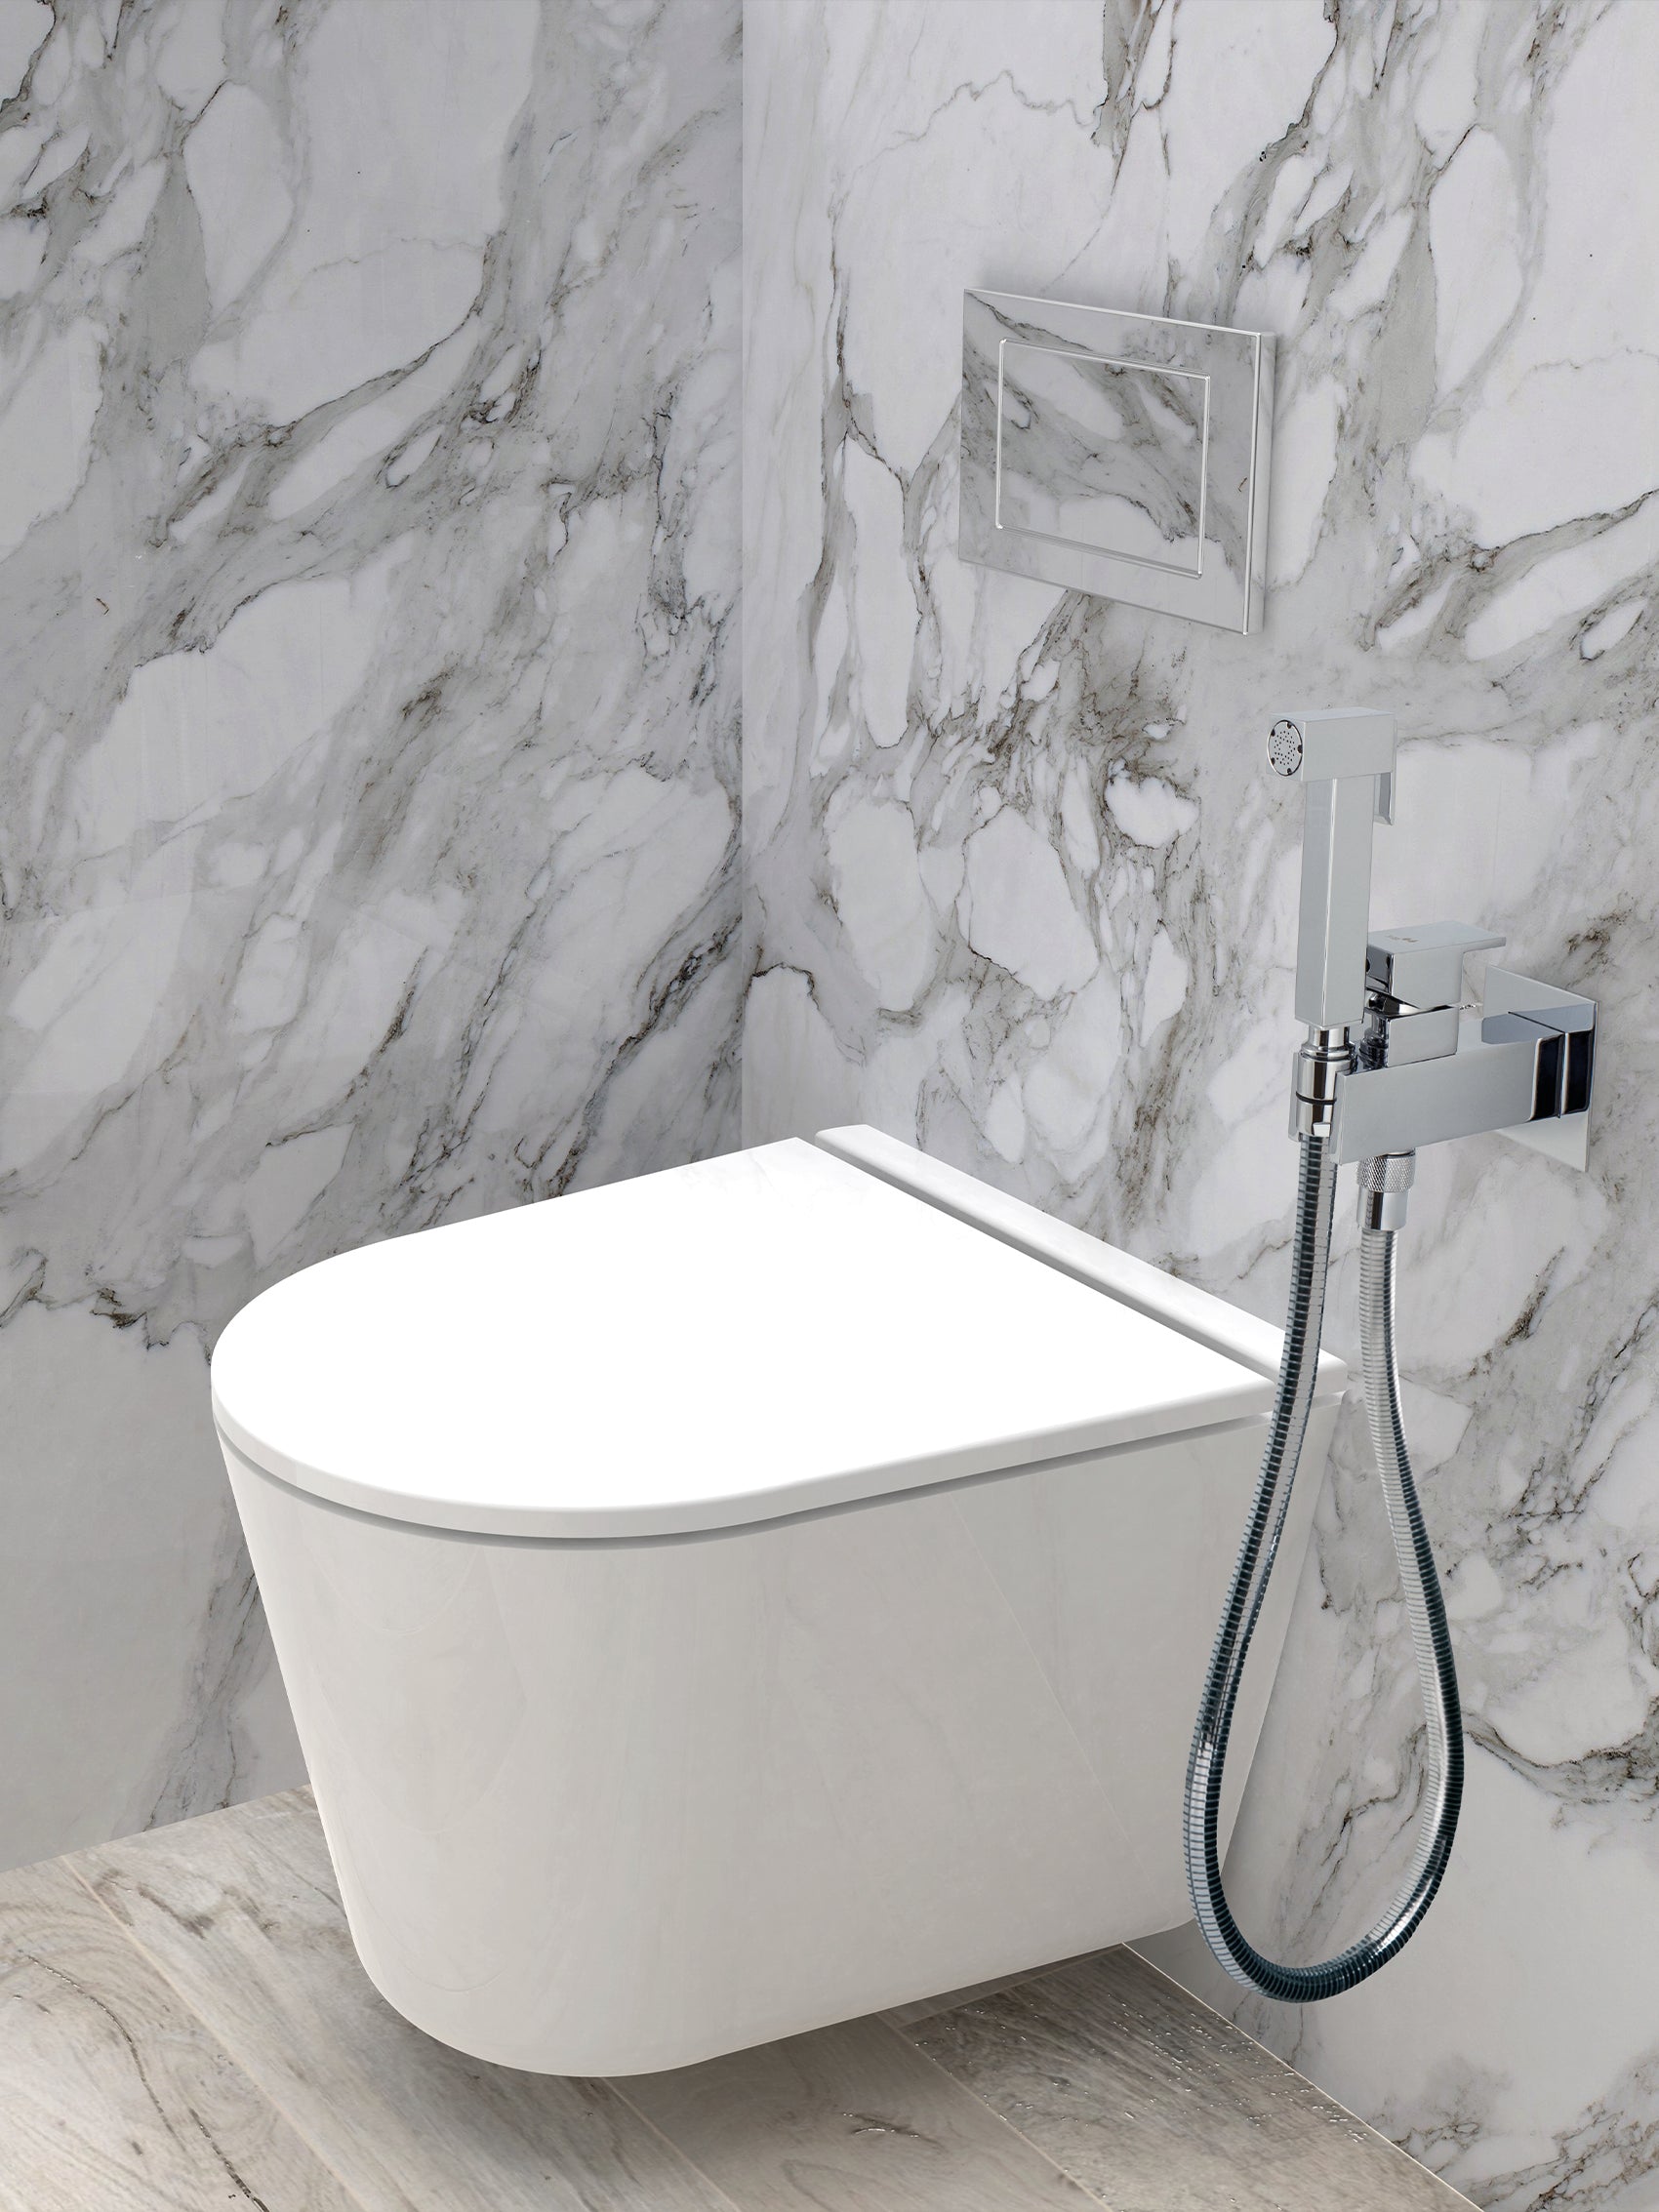
Step 5 – Install a new faucet
You can decide to install a new faucet to match the style of your new vanity. Follow the manufacturer’s instructions. It can change the whole look and appearance of your new vanity.
Step 6 – Attach the vanity to the wall
After positioning the new vanity properly with the wall, secure it with screws.
Step 7 - Place the countertop
Now secure the countertop on the top of the vanity after applying a bead of tub-and-tile caulk along the edges of the vanity base.
Step 8 – Reconnect the plumbing
Now reconnect the plumbing and supply lines using pipe wrenches. Don’t forget to use plumber's tape for tighter and easier connections.
So, this is the step-by-step process to replace the bathroom vanity in your bathroom. Installing a new vanity is also a great way to renovate your bathroom to bring some new energy to your daily lifestyle. Select some great designs and styles for your new bathroom vanity at Bath Trends to find a style that suits your need perfectly. Contact us for a free consultation for your specific needs.
Please note: Although we are offering a general guide to self-installation, for safety reasons we highly recommend you hire a reputable, professional installer to protect your investment and minimize any chance of injury due to improper installation.

